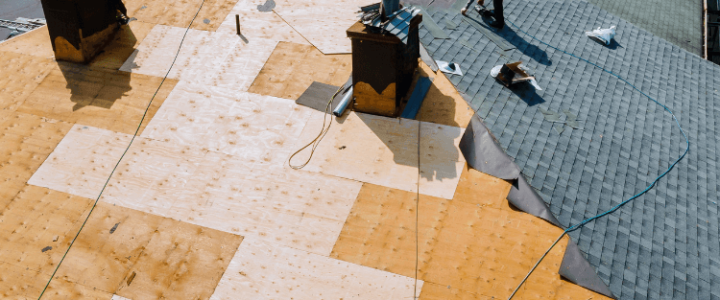
Conducting daily inspections is key for early identification of any potential issues as well as avoiding expensive repair bills due to leaks. Although it is always advised to get a professional’s help for thorough evaluation, the DIY roofing inspection may assist homeowners to spot early indications of leaks or damage and ultimately prolong the lifespan of their roof as well as protecting the investments.
- Safety First: Prior to embarking on the roof inspection security should be the most important concern. You must possess a sturdy ladder, slip-resistant shoes as well as the appropriate safety equipment. Ideally, you should conduct the inspection on a sunny day that isn’t wet, to minimize incidents.
- Exterior Inspection: Start by examining your roof from the ground. Look for obvious signs of damage such as missing or cracked shingles, curled edges, or areas that seem discolored. Binoculars can help you get a closer look without having to climb onto the roof.
- Roof Surface Examination: Providing your roof has a gentle slope and you feel confident climbing onto it with a ladder, you should carefully climb onto it using it and inspect each area of roofing material and shingles closely for signs of granule loss or cracks, tears, or holes which might allow water to seep into your home’s interior.
- Flashing and Seals: Inspect the flashing, which is the metal or other material that’s used to seal gaps around vents, chimneys, and other roof protrusions. Ensure that it’s properly secured and not corroded. Damaged or missing flashing can be a common source of leaks.
- Gutters and Drainage: Your gutters play an essential part in protecting both your roof and home from water damage, so keep them clear by regularly clearing away debris. Also look out for signs of sagging, rust or any damage which might impede water flow; poorly maintained gutters could result in water backing up onto your roof and causing structural issues.
- Interior Inspection: Head to your attic or crawl space to conduct an interior inspection. Look for signs of water stains, mold, or mildew on the ceiling and walls. These are clear indicators of a leak. Follow the trail of stains upwards to locate the potential source of the leak on the roof.
- Ventilation Check: Ventilation is vital to the health of your roof and the home. Check that the vents, soffits, as well as the ridge vents are free of obstructions and operating just as they ought to. Insufficient ventilation could keep moisture from the attic, causing degeneration and rot of the roof’s structure.
- Tree Limbs and Debris: Overhanging tree limbs can cause friction against the roof, leading to shingle damage or even punctures. Trim any branches that are too close to your roof to prevent potential problems.
Top 5 Early Signs of Roof Damage and Leaks: A DIY Inspection Guide
The roof of your home can be a significant barrier to elements. Keeping its condition in top shape is crucial to maintaining the safety and comfort of your living space. Regularly scheduled inspections are essential to spot potential issues before they become serious issues. These are the five most important warning signs of damage to your roof and leaks you can easily detect during a DIY inspections:
- Missing or Damaged Shingles:
Keep an eye out for shingles that are missing, cracked, or visibly damaged. Shingles protect your roof from rain and harsh weather, and any compromised shingles can lead to leaks and water damage. Perform a visual scan of your roof to identify any noticeable gaps or irregularities.
- Water Stains on Interior Surfaces:
Head into your attic or crawl space and inspect the ceilings and walls for water stains. These stains indicate that water is infiltrating your roof and potentially damaging your home’s interior. Follow the trail of stains upward to pinpoint the area on the roof that requires attention.
- Curling or Buckling Shingles:
Shingles that are curling at the edges or buckling in the middle are a clear sign of deterioration. These shingles are more susceptible to wind uplift and water penetration. If left unaddressed, they can become a prime source of leaks during rainstorms.
- Damaged Flashing:
Flashing is the metal or material that seals the gaps around chimneys, vents, and other roof protrusions. Check for any signs of rust, cracks, or detachment. Damaged flashing can compromise the integrity of your roof’s waterproofing system and lead to leaks over time.
- Granule Loss on Shingles:
Inspect your gutters and downspouts for an accumulation of granules that have washed off your shingles. These granules protect your shingles from UV rays and help shed water. If you notice a significant amount of granule loss, your shingles may be aging and could be at risk of leaks.
Remember, while these signs are indicators of potential roof damage and leaks, it’s important to exercise caution during your inspection. Safety should always come first. If you’re uncomfortable with heights or unsure about any findings, it’s wise to consult a professional roofing contractor.
Regular DIY roof inspections can save homeowners significant money and headaches by identifying early signs of damage and leaks. By taking the time to perform these inspections, you can catch issues before they escalate into major problems, ultimately extending the life of your roof and protecting your home. Remember, while DIY inspections are valuable, it’s essential to engage a professional roofing contractor for a more comprehensive assessment, especially if you notice significant issues during your inspection. Your proactive approach to roof maintenance will pay off in the long run, ensuring your home remains safe, comfortable, and well-protected.

